 |
Have you ever thought about turning a
strapless dress into a skirt? Well I have!
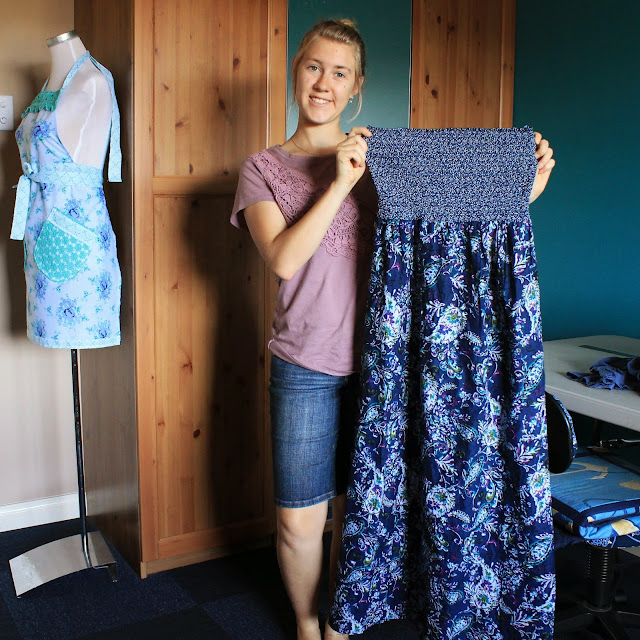
It all started when I went op shopping the other day and found this this elastic topped strapless dress. I don’t wear strapless dresses but the fabric was so nice that it got me thinking that maybe I could make it into a lovely long maxi skirt.
My skirt turned out so well that I wanted to share how I have done it with you!
Step 1.
First you
will need to check for and remove any non-slip, see-through elastic tape from the top of the dress. You can
remove this with a quick un-pick quite easily, just be careful that you don’t
cut any other
Step 2.
Try your skirt on
and decide where you want the top of the skirt to sit and mark it
with a pin.
Once you have marked it take it off and measure to the pin.
Add another 2 cm's to your measurement for the
seam allowance and then measure and
pin all the way around the skirt. Cut along
the now pinned line. (NOTE: if there are lines in the
fabric make sure you use them to help you get nice
straight lines).
Step 3.
Now we will work
on taking up the bottom of the skirt.
Have a good
guess at how much you think that you will need to take off and mark
the length
with a pin. Measure and pin all the way around the skirt and pin up the extra
fabric so you can get
a good idea
of what it will look like. Try it on and check if it is the right length.(NOTE:
mine was not the right
Step 4.
When you
have the right length add another 2 cm's for the seam allowance and then cut on
your pinned line.
Once you
have cut off the extra fabric make a new hem for the skirt at it’s new length.
To hem simply fold about 1 cm up from the bottom of the skirt and then fold
it over again ensuring that you no longer have a cut edge showing. (NOTE: if
you have an iron handy you can iron your new hem to help keep it in place for
sewing). Once you
have made your hem on the bottom and pinned it to hold it, repeat this and hem
along the top of your skirt too!
Step 5.
Now that you
have them both all hemmed and pinned it’s time to sew them.
For the top
of the skirt I used a Zig Zag stitch,( NOTE: I used the Zig Zag stitch so that
I would
have stretch in the stitching
and Still be able to simply pull the skirt on and off, you could also use a Over-locker.) For the bottom hem I used a regular straight stitch, you
could use just about any stitch here but I
liked the
look of the straight stitch.


0 comments
We hope that you found this post helpful. If you have any questions or would like to leave a comment, please feel free....